Richard qualified as an Osteopath in 2012 with a First Class degree and is registered with the General Osteopathic | Technology In Motion
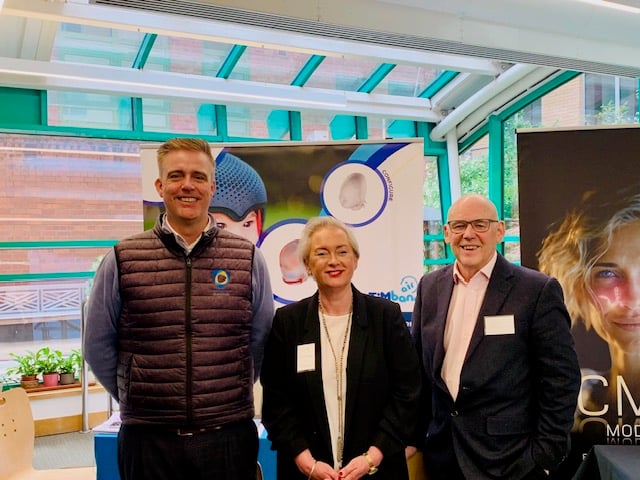
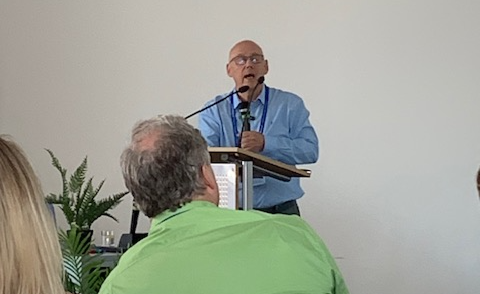
Technology in Motion invited as guest speaker at FUEL event.
Technology in Motion attends NHS Annual Craniosynostosis Audit Meeting.
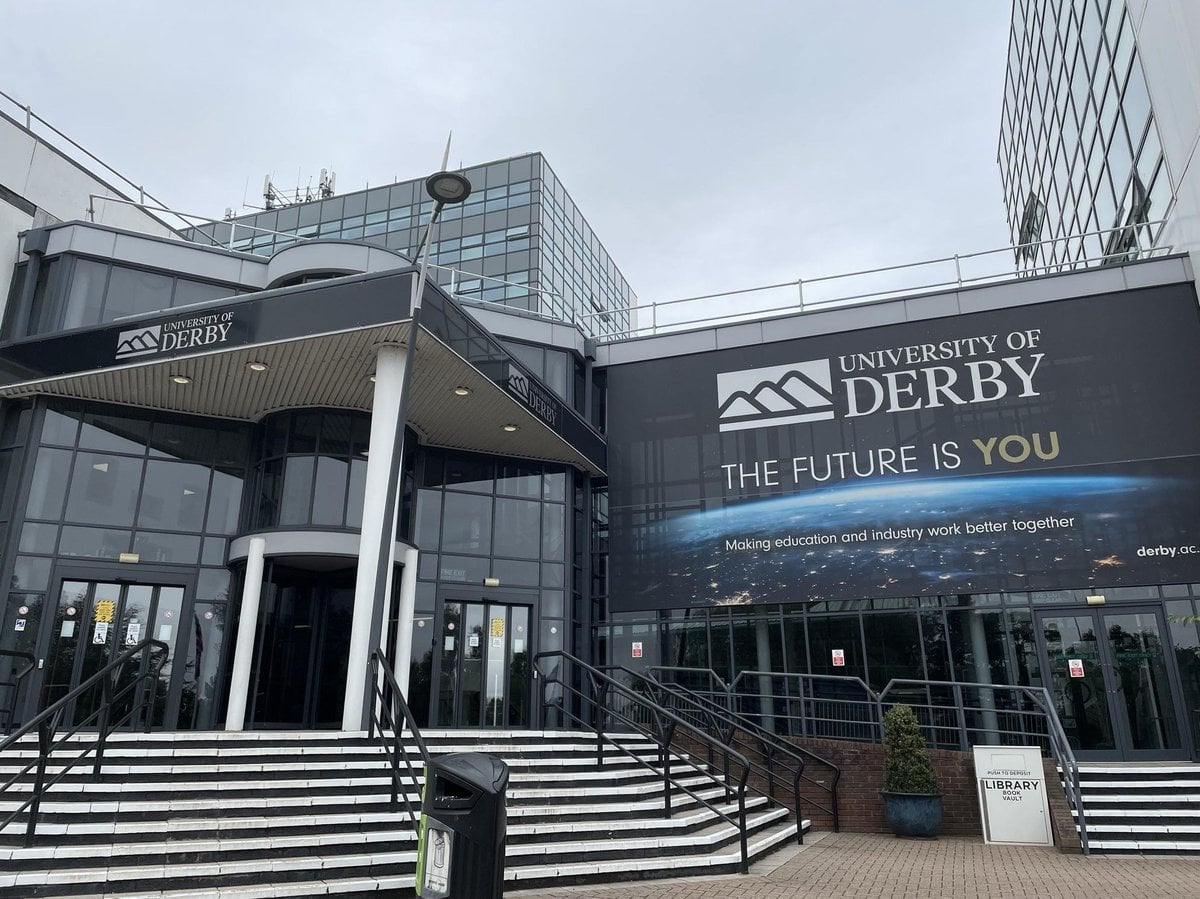
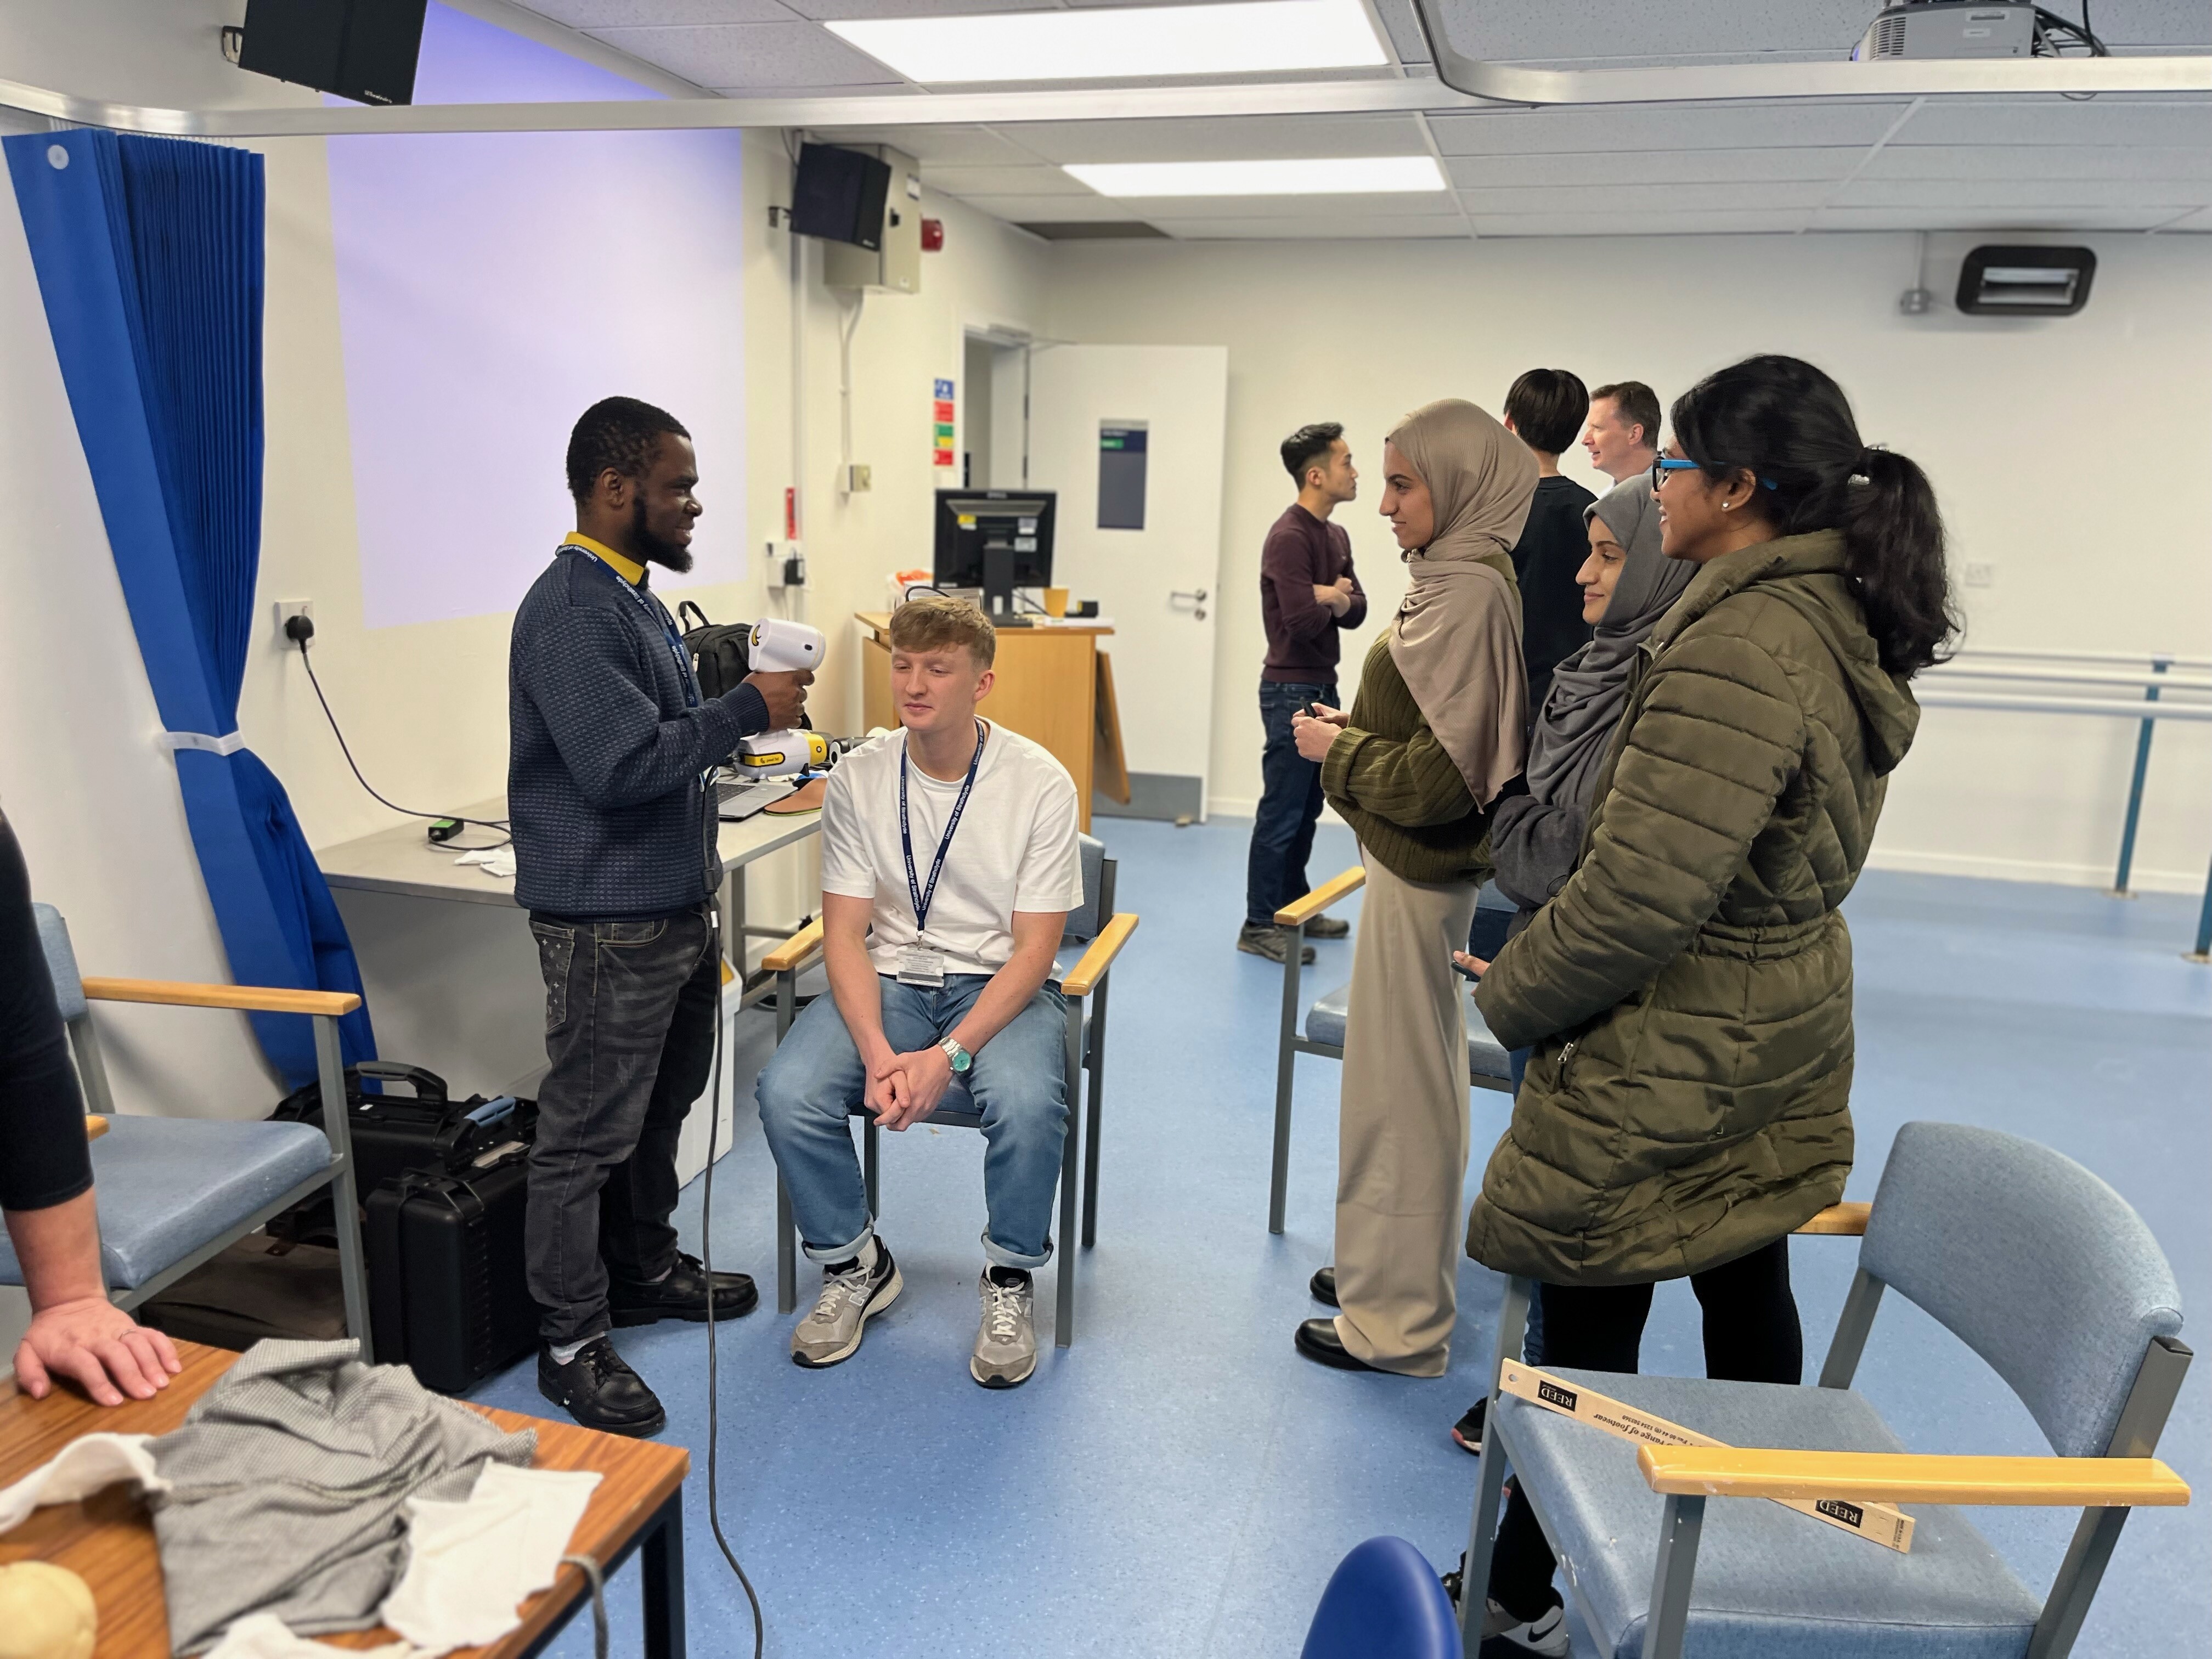
Technology In Motion supports Derby University's education programme on Plagiocephaly.
Technology in Motion support Strathclyde University Orthotics Education Programme.
Jason Briody qualified with a Bachelor of Osteopathy in 2017 at the University College of Osteopathy.
There are sleeping systems and pillows on the market which may provide benefits but only up to the ages of 4 to 5 months, before your baby starts to roll over.
echnology in Motion were very proud to once again be invited to attend, and also sponsor, this year’s Craniofacial National Audit Conference held in Oxford
Technology in Motion deliver keynote speech at 2025 Re:Invent Conference